

Pre-installation
How to Install a Shower Pump in a Gravity Fed System
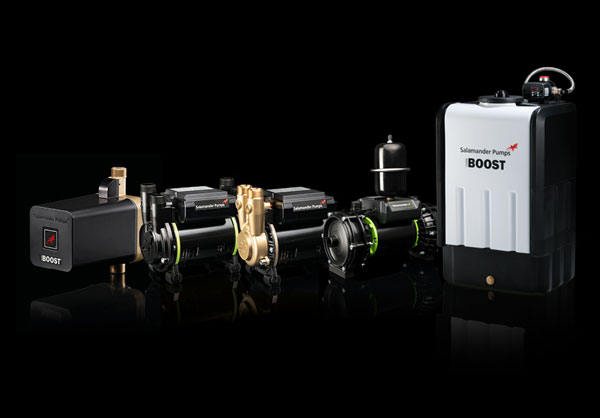
Shower pumps offer an excellent way to boost the water pressure in gravity fed systems. However, issues arising during installation can reduce the product’s life. To help avoid these issues, Salamander Pumps’ Training Manager, Mike Oxley, explains how to successfully install a shower pump.
Pre-Installation Checks
Identifying a Gravity Fed System
It is key to ensure that the pump being installed is suitable for the system. Gravity fed systems are identified by a cold-water tank in the loft and a hot water cylinder in the airing cupboard. These systems rely on gravity to move water around the pipework.
Determining a Positive or Negative Head System
In a gravity fed system, the gap between the bottom of the cold-water storage tank and the highest point in the pipework or highest outlet determines if the system is positive or negative head.
For the system to be positive head, there must be more than 600mm from the bottom of the cold-water storage tank to the highest point in the system, after the pump.
In systems where there is 600mm or less between the bottom of the cold-water storage tank and the highest point in the pipework, the system is negative head.
Installation
Begin by unboxing the pump and reading the enclosed literature. It may seem obvious but the installation guide should always be your first port of call, even for experienced plumbers. Each pump has a different design and therefore the installation could be different.
Fit the anti-vibration feet to the pump to ensure that the noise is minimalised. Fit the hoses to the pump, ensuring that the hoses aren’t bent. Salamander Pumps’ hoses have an anti-vibration design, meaning the hoses are not flexible and shouldn’t be bent more than 30-35 degrees. Bending them more than this will restrict water flow and will remove the warranty on the pump.
Locate the pump in the selected location.
Isolate the water supplies to the hot water cylinder and cold-water tank and then drain the system. If any soldering is to be carried out on pipework close to the pump or above it the pipework should be set and clipped, then the pump and hoses removed to avoid any solder or flux coming into contact with the pump. Flux residue will erode the pump and can result in water leaks.
Creating a Hot and Cold Feed
Create a connection to the cold water tank through the use of an appropriately sized tank connecter and run a dedicated cold water feed to the pump.
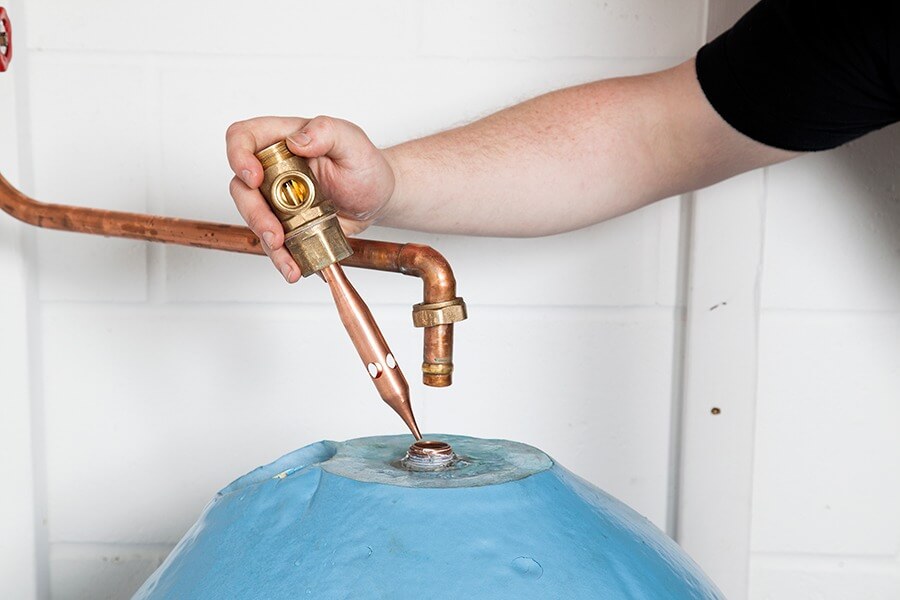
To create a hot feed, if there isn’t a flange already connected, remove the hot outlet connection from the cylinder and fit an appropriate flange, such as the Salamander Pumps’ S-Flange. Once the flange is connected to the cylinder, reconnect the vent pipe and any un-pumped services to the top connection of the flange (make sure to check which flange connections should be used first) and then take a dedicated feed from the side of the flange to the pump.
Fitting Feeds to Pumped Appliances
Now that the supplies to the pump are installed, feeds from the outlets will need to be taken to the appliances being added to the pump, for example a shower. If this includes any up and over pipework, it is best to fit some air vents on the highest point of the system. Additionally, if the whole house is to be supplied, there should be a dedicated vent pipe from the cylinder with the outlet of the pump supplying the whole hot water supply. This supply should not be linked back into the vent, as it would cause the pump to push water back into the vent.
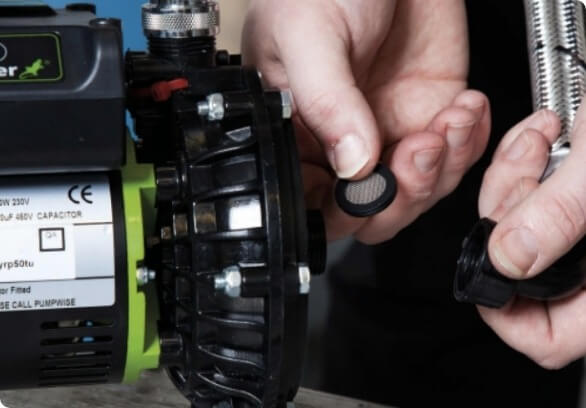
Once any soldering is completed return the pump to its selected location, make sure to fit filter washers to the inlets of the pump, and ensure the standard flat washers are on the outlets.
Commissioning
Ensuring that the isolating valves are switched off, re-fill the hot and cold systems then confirm that all non-pumped outlets are functioning correctly.
Turn on the inlet isolating values and check that there are no leaks. Then with the pumped outlets off, turn on the outlet isolating valves, again checking for any leaks.
Once the water has been restored, before turning the electricity on to the pump, allow as much natural flow through pumped outlets as possible to ensure the pump and all pipework is flooded. If it’s not possible to obtain a natural flow (such as in a negative head situation) discharge water from the pump’s outlets into a bucket, using some pipe or hoses to ensure the pump is full.
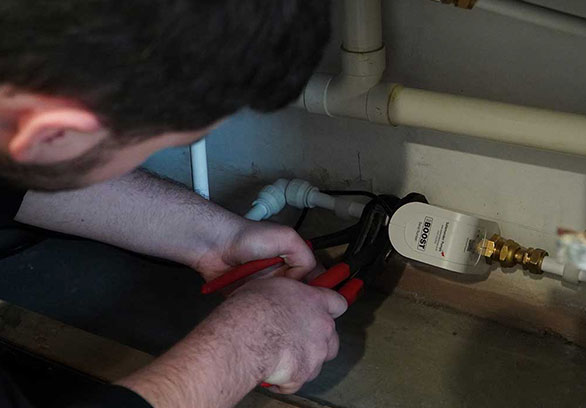
Once all these steps are completed, the pump can now be plugged into a socket or wired into a fused spur by a suitably qualified person. Switch on the electrical supply to the pump (negative head pumps will now operate briefly to charge up the outlet pipework), and then turn on all outlets one at a time to ensure the pump pressure is as desired.
Re-check the full installation for any possible leaks.
Provide the customer will all relevant literature and advise them on how to register the warranty.