Skip to content

Boost the water pressure and flow in gravity and mains fed properties. For Installers

Installer Salamander Pumps Support Image

Interested in learning more about product selection and installation of the Salamander Pumps’ range? Visit the Salamander eSchool.

Developed in conjunction with the CIPHE, the Salamander eSchool is a free online tool packed with helpful training modules, featuring games, interactive imagery and animated technical videos. Designed to give installers the knowledge, applications and best practice for installing our products.

Salamander eSchool

Where can I access training on Salamander Pumps products?

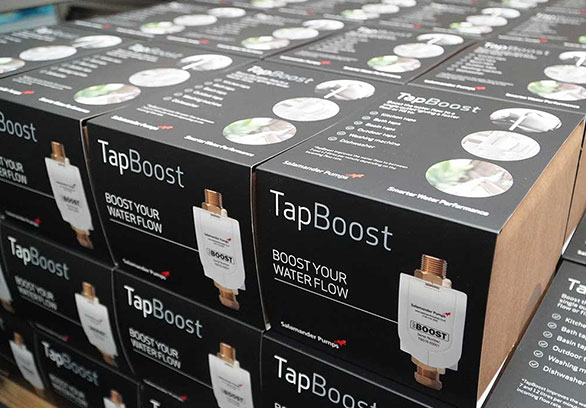
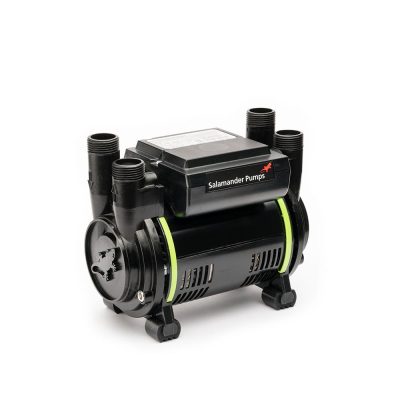
We have a range of training tools including:

  • Salamander eSchool – our online training platform featuring courses to develop your understanding of our products, their application and installation.
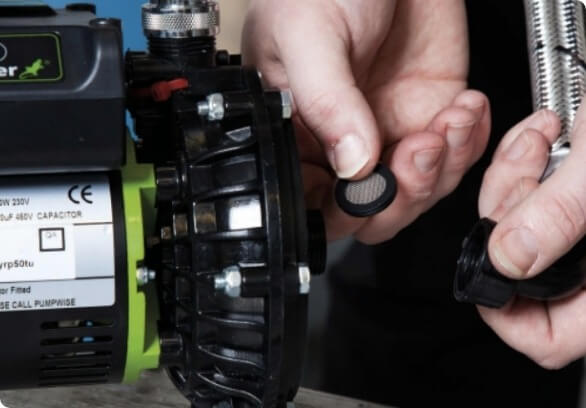
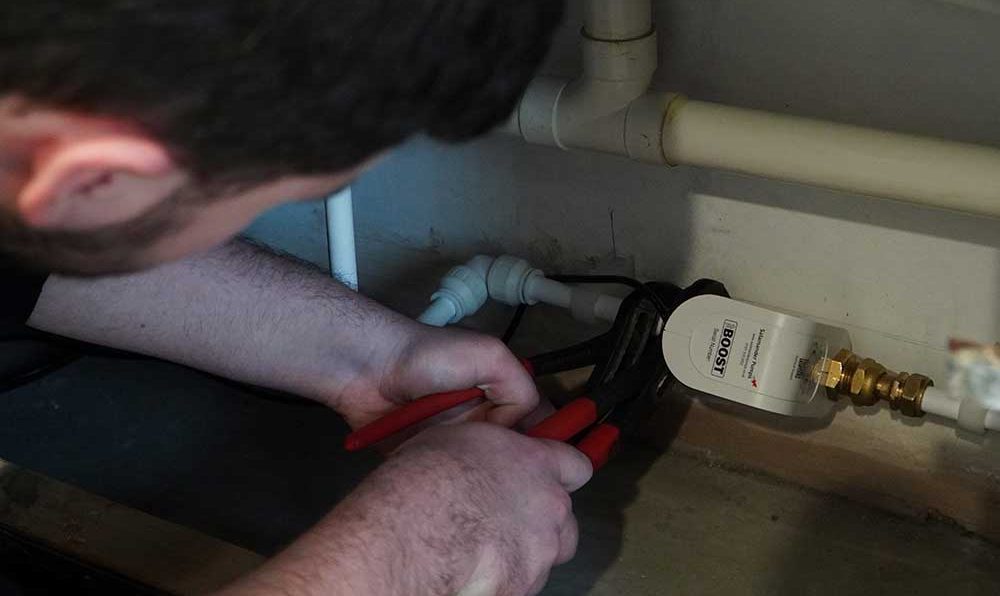
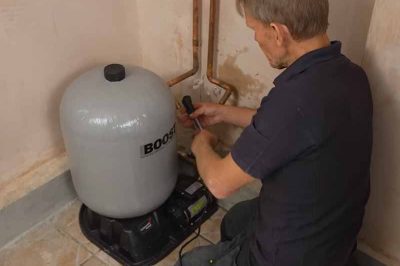
  • Videos – we’ve got a host of helpful tutorial videos including ‘how to install’, including on our AccuBoost accumulator vessel ranges, ‘top tips’ to help you avoid common installation pitfalls.
  • Articles – there is an array of educational articles on our website, providing a written supplement to the videos.
  • Webinars – Mike, our Training Manger, regularly hosts webinars for installers, students or anyone looking to learn more about our products. Sign up to our newsletter to find out about our upcoming training sessions.
  • In-person training – if you’re a college or training center our Training Manger can arrange to hold in-person training sessions.
Where can I access product downloads?

Visit the downloads page to access all of Salamander Pumps downloadable content, including brochures, installation manuals and datasheets.

What accessories does Salamander Pumps offer?

We offer a range of accessories that will ensure a smooth installation, protect the products from damage caused by aeration, dry running, excessive temperatures and can help to dampen noise.

You can view the all available accessories on our shop.

How do I access support for a product I have installed?

The Customer Support section offers guidance on pre installation, installation and post installation enquiries, including FAQs, videos, downloads and articles. For support relating to your product’s warranty, visit the Warranty Support section, where you can request a replacement product, site survey or a service engineer visit.

How long are Salamander Pumps’ warranty periods?

The table below shows the warranty periods for each of our products:

RangeProductDuration
GravityBoosterOra1 years warranty
GravityBoosterCT Xtra3 years warranty
GravityBoosterCT Bathroom3 years warranty
GravityBoosterCT Force5 years warranty
GravityBoosterRight Pump3 years warranty
MainsBoosterTapBoost1 years warranty
MainsBoosterCombiBoost1 years warranty
MainsBoosterHomeBoost3 years warranty
MainsBoosterAccuBoost3 years warranty
MainsBoosterTankBoost2 years warranty
What checks should I carry out after installing a shower pump?

To successfully activate the pump on first operation: Connect the pump to the pipework, turn on incoming water supply and ensure that all isolating valves are open. Open an outlet and check for natural flow. Ensure all air is purged from the system and inspect connections and connecting pipework for leaks. Plug in electrical supply to pump and turn on. The flow will now increase as the pump activates. Close the outlet fully and the pump will stop.

How do I check the water pressure with AquaScan?
  • Connect AquaScan to the outlet.
  • Ensure that the lever is in the closed position.
  • Take three measurements from the live ‘Pressure’ reading. Calculate the average of the three measurements.

Static Pressure Test

  • Allow flow through the unit and then close the isolation valve on the outlet of the unit.
  • Ensure all outlets in the property are closed during test.
  • Record the “Pressure” reading shown on the screen.
  • Open the isolation valve to allow water to flow and then turn off the outlet.

Note: the pressure should always read “0.0” before removing the unit from the outlet

Dynamic Pressure Test

  • Fully open the isolation valve on the outlet of the unit.
  • Open the outlet and allow flow through the unit until the desired flow rate is reached.
  • Record the “Pressure” reading shown on the screen.
  • Turn off the outlet.

Note: the pressure should always read “0.0” before removing the unit from the outlet

How do you measure water flow rate in the mains with AquaScan?
  • Connect AquaScan to the outlet.
  • Take three measurements from the live ‘Flow’ reading.
  • Calculate the average of the three measurements.

A garden tap is the best location to measure the incoming flow rate. When this isn’t possible, such as in properties where there is no outside tap, measuring the flow rate while multiple outlets are open is the best way to calculate the incoming flow rate. As this ensures any restrictive outlets do not impact the measurement.

  • Attach AquaScan to one outlet and turn on. Record the flow rate.
  • Open another outlet (so both are turned on).
  • Check the flow rate on AquaScan:
    • If the flow rate remains the same, then continue to open further outlets until it decreases.
    • If the flow rate decreases, use AquaScan to measure the flow rate at each outlet (all outlets must remain turned on), make a note of the flow rate in the specification notepad. Add together the flow rates to determine the total flow rate.
How do I measure water temperature in the house with AquaScan?
  • Connect AquaScan to the outlet.
  • Ensure that the lever is in the closed position.
  • Open the isolation valve on the outlet of the unit and position over a suitable container for the flow to discharge into such as a basin or bucket.
  • Fully open the outlet to allow water to flow through the unit.
  • Record the “Temperature” reading shown on the screen.

Note: It is advised to allow water to flow through the unit for 30-60 seconds for a more accurate reading.

Can I test the temperature of hot water with AquaScan?

Yes, you can use AquaScan to test a hot water temperature up to 85°C.

How do I test the water hardness with AquaScan?
  • Connect AquaScan to the outlet.
  • Ensure that the lever is in the closed position.
  • Settling time (minimum of 30 seconds) – for accurate reading.

Static water – won’t show if there is a flow of water. Water hardness should be tested before a water softener to measure TDS/EC (total dissolved solids/electrical conductivity).

How do I choose a water conditioner?

It is crucial to choose the right water conditioner to get results. Selecting the wrong size conditioner including using a larger diameter than needed can compromise water delivery and affect treatment quality.

Water conditioners size is selected based on the amount of water flowing through them. Check the flow rate of the incoming water and match this to the relevant water conditioner:

In general applications where the flow rate is known to be low or there is relatively heavy scale build-up inside the pipe already, a conditioner one size smaller than the pipe diameter is recommended. Therefore, it is important for the installer to check the flow rate entering the property.

Chat Offline: Leave A Message Speech bubbles icon