
Installation
Maintenance of a Shower Pump Installation
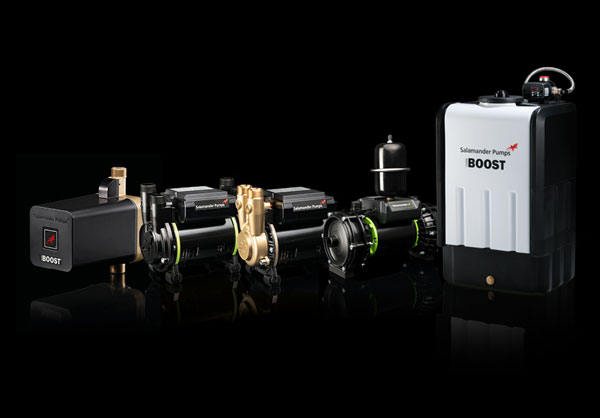
You’ve installed a shower pump and your water pressure is dramatically improved, but what can you do to ensure that you get the best results from your shower pump for years to come? Our Training Manager, Mike Oxley, explains the steps you can take to maintain your shower pump installation.
Maintenance of Positive Head Pumps
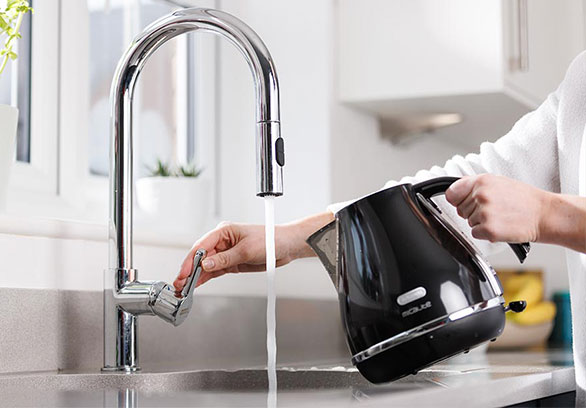
Positive head pumps are activated by a flow switch which needs to see a minimum water flow rate of 1 litre in 30 seconds per side of the pump to turn on. Water must be able to flow through the pump and out of an open outlet, such as a shower head, to lift the small sensor in the pump which will then activate the pump, essentially a float.
Over time the activation of the pump can become delayed or can stop altogether, this can be seen by a reduction in shower performance. Many aspects of the installation can cause these issues, but a couple of key checks can be carried out periodically or when you witness any of these issues:
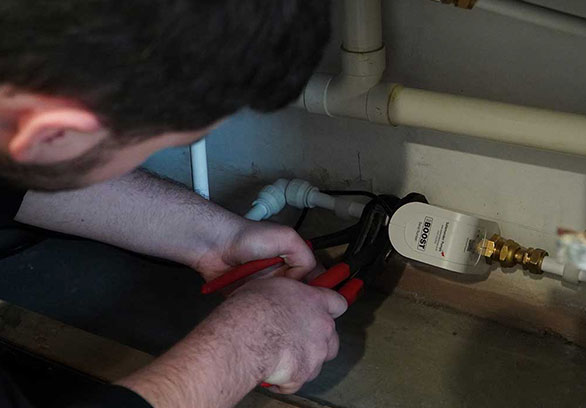
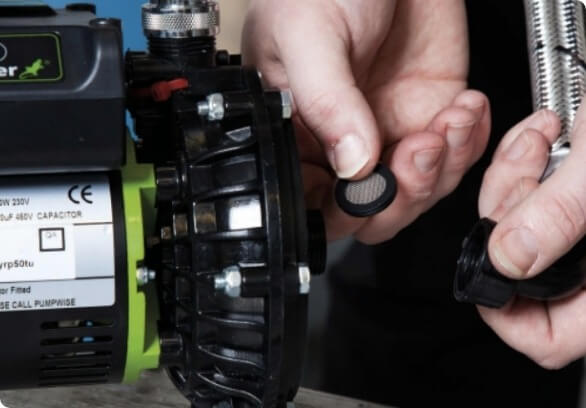
- Check the inlet filters on the pump. The filters on the inlet of the pump can become blocked by debris which will reduce the water flow rate, potentially below the minimum flow rate of the pump, stopping it from activating. You will find one inlet filter on a single-ended pump and two on a twin-ended pump, the filters will be located between the inlet hose connection(s) and the pump. FIND OUT HOW TO CHECK THE FILTERS ON YOUR PUMP.
- Check the shower head and hoses. Shower heads and hoses can become blocked, especially in hard water areas. The shower head can get scaled up, restricting the water flow, potentially by enough to prevent the pump from seeing the minimum flow rate.. If you notice a reduction in pressure or activation issues:
- Test to the shower head to see if it is causing restriction. Remove the shower head from the hose and try turning the shower on to see if the pump activates. If the pump does activate then the shower head may be restricting the water, which is resulting in the pump not getting the necessary minimum flow rate to turn on. It may be necessary to clean or de-scale the shower head, according to the shower’s manufacturers literature. If the pump does not activate try the next step.
- Test to see if the shower hose is causing restriction. Remove the hose from the shower valve and try the shower again to see if the pump kicks in. If the pump does activate then the hose is restricting the water flow and is in turn preventing the pump from getting the minimum flow rate required to activate. It may be necessary to replace the hose according to the shower’s manufacturers literature.
Maintenance of Negative (Universal) Head Pumps
Negative head pumps work differently to positive head pumps. Where positive head pumps are activated by a flow of water, negative head pumps are activated by detecting a pressure drop when an outlet, such as a shower or tap, is opened. This means that negative head pumps will still activate when the flow is restricted, by blocked filters or shower heads for example.
If a negative head pump stops working or activation becomes delayed, there are a couple of key checks which can be carried out:
- Check for blocked filters and shower heads/hoses. Although a negative head pump will still work when water flow rate is restricted, blocked filters and shower heads and hoses can still cause low pressure and should therefore still be checked as above.
- Check the LED lights. Some pumps feature LED lights which indicate why a pump has stopped working, including our positive head Right Pumps (previous ESP pumps), and universal Right Pumps.
Positive Head Right Pumps (ESPs)
When the pump is running normally, then none of the red warning lights will be lit and a green LED should be lit next to a letter N.
AMBER LED illuminated next to a P this means the pump has reverted into positive head operation, often caused by an interruption to the power supply, such as a power cut. This will only occur in ESP pumps manufactured before 2014. If the amber LED is lit, the pump will need to be reset back to negative head mode by following the steps below –
- Switch the pump off at the electrical supply for three seconds.
- Switch the pump back on again and wait for a green LED next to N to light up (if you wait too long, the light will go back to amber).
- As soon as this green light comes on, turn the electric back off for three seconds and back on
- The pump should then show a green light which goes off and comes back on again (it should not then go back to amber or you may need to repeat the procedure).
- Check that when an outlet is opened, the pump activates.
RED LED illuminated next to 1, 2 or 3 this occurs when the pump recognises one of the following system faults – excess temperature, dripping outlet (hunting), or dry running. If any of these lights are illuminated you should contact Salamander Pumps on 0191 516 2002.
Universal Right Pumps
When the pump is running normally, no LEDs will be lit. When the pump recognises a system fault the LED indicator lights will illuminate. Pumps with the fault identification LEDs can sense excessive supply water temperature, dry running, and chronic aeration or water starvation.
Hunting Protection
- Flashing: Detecting a potential dripping tap or slow system leak.
- Steady: Drip or system leak found. Protection initiated and pump locked out.
- Once issue is identified and resolved, switch mains supply off and on again to reset the pump
Dry Run Production
- Flashing: detecting aeration or water starvation in pump chambers.
- Steady: aeration or water starvation found. Protection initiated and pump locked out. Once issue is identified and resolved, switch mains supply off and on again to reset the pump
Excessive Temperature
- Steady: Water or pump over temperature. Protection initiated and pump locked out. The pump will restart when water temperature cools to within limits.
- Negative (universal) head pumps can sometimes activate on their own when there are no outlets in use:
Leaks in the system (such as a dripping tap or shower)
As the pump works on a pressure drop leaks in the system will cause the pressure in the system to drop, eventually this will be enough to activate the pump. This is called ‘hunting’ and could happen as often as every few minutes or as infrequently as once or twice a night. FIND OUT HOW TO CHECK IF A LEAK IN THE SYSTEM IS CAUSING YOUR PUMP TO TURN ON.
Other checks
There are a few other measures that can be carried out to ensure the longevity of your pump:
- Ensure hoses are not bent. The anti-vibration couplers on the pumps are to be installed as straight as possible. Bending the hoses more than 30-35o can result in the hose restricting internally, which will cause water starvation. Water starvation will cause the pump to make unnecessary noise.
- Minimise air in the pump. Air can seriously damage a pump, which is why we have specific requirements for pump installations. Fitting a flange is a key way to ensure air is kept to a minimum and is a requirement for some installations:
- All centrifugal pumps must be installed with an anti-aeration flange, such as the S-Flange, Surry Flange, Warrix or Essex Flanges.
- Any pump installed above the hot water cylinder also requires a flange, ideally an Essex Flange with an anti-gravity loop.
When installed on the first tee on the downward leg from the hot water cylinder, installed at the base of the cylinder and the cold-water tank is up in the loft, pumps in the CT range do not require a flange.